生成モデルの監視
本機能の提供について
生成モデルの監視サポートはプレミアム機能です。 この機能を有効にする方法については、DataRobotの担当者または管理者にお問い合わせください。
カスタムモデルと外部モデルのテキスト生成ターゲットタイプを使用した、LLMOpsのプレミアム機能では、生成LLM(大規模言語モデル)をデプロイして、予測の実行、サービス、使用状況、データドリフト統計の監視、カスタム指標の作成を行います。 DataRobotは、次の2つのデプロイ方法でLLMに対応しています。
| 方法 | 説明 |
|---|---|
| Create a text generation model as a custom model in DataRobot | Create and deploy a text generation model using the Custom Model Workshop, calling the LLM's API to generate text and allowing MLOps to access the LLM's input and output for monitoring. To call the LLM's API, you should enable public network access for custom models. |
| Monitor a text generation model running externally | Create and deploy a text generation model on your infrastructure (local or cloud), using the monitoring agent to communicate the input and output of your LLM to DataRobot for monitoring. |
生成型カスタムモデルの作成とデプロイ
Custom inference models are user-created, pretrained models that you can upload to DataRobot (as a collection of files) via the Model workshop. 次に、モデルアーティファクトをアップロードして、DataRobotの一元化されたデプロイハブにカスタム推論モデルを作成、テスト、およびデプロイすることができます。
生成型カスタムモデルの追加
To add a generative model to the Model workshop:
-
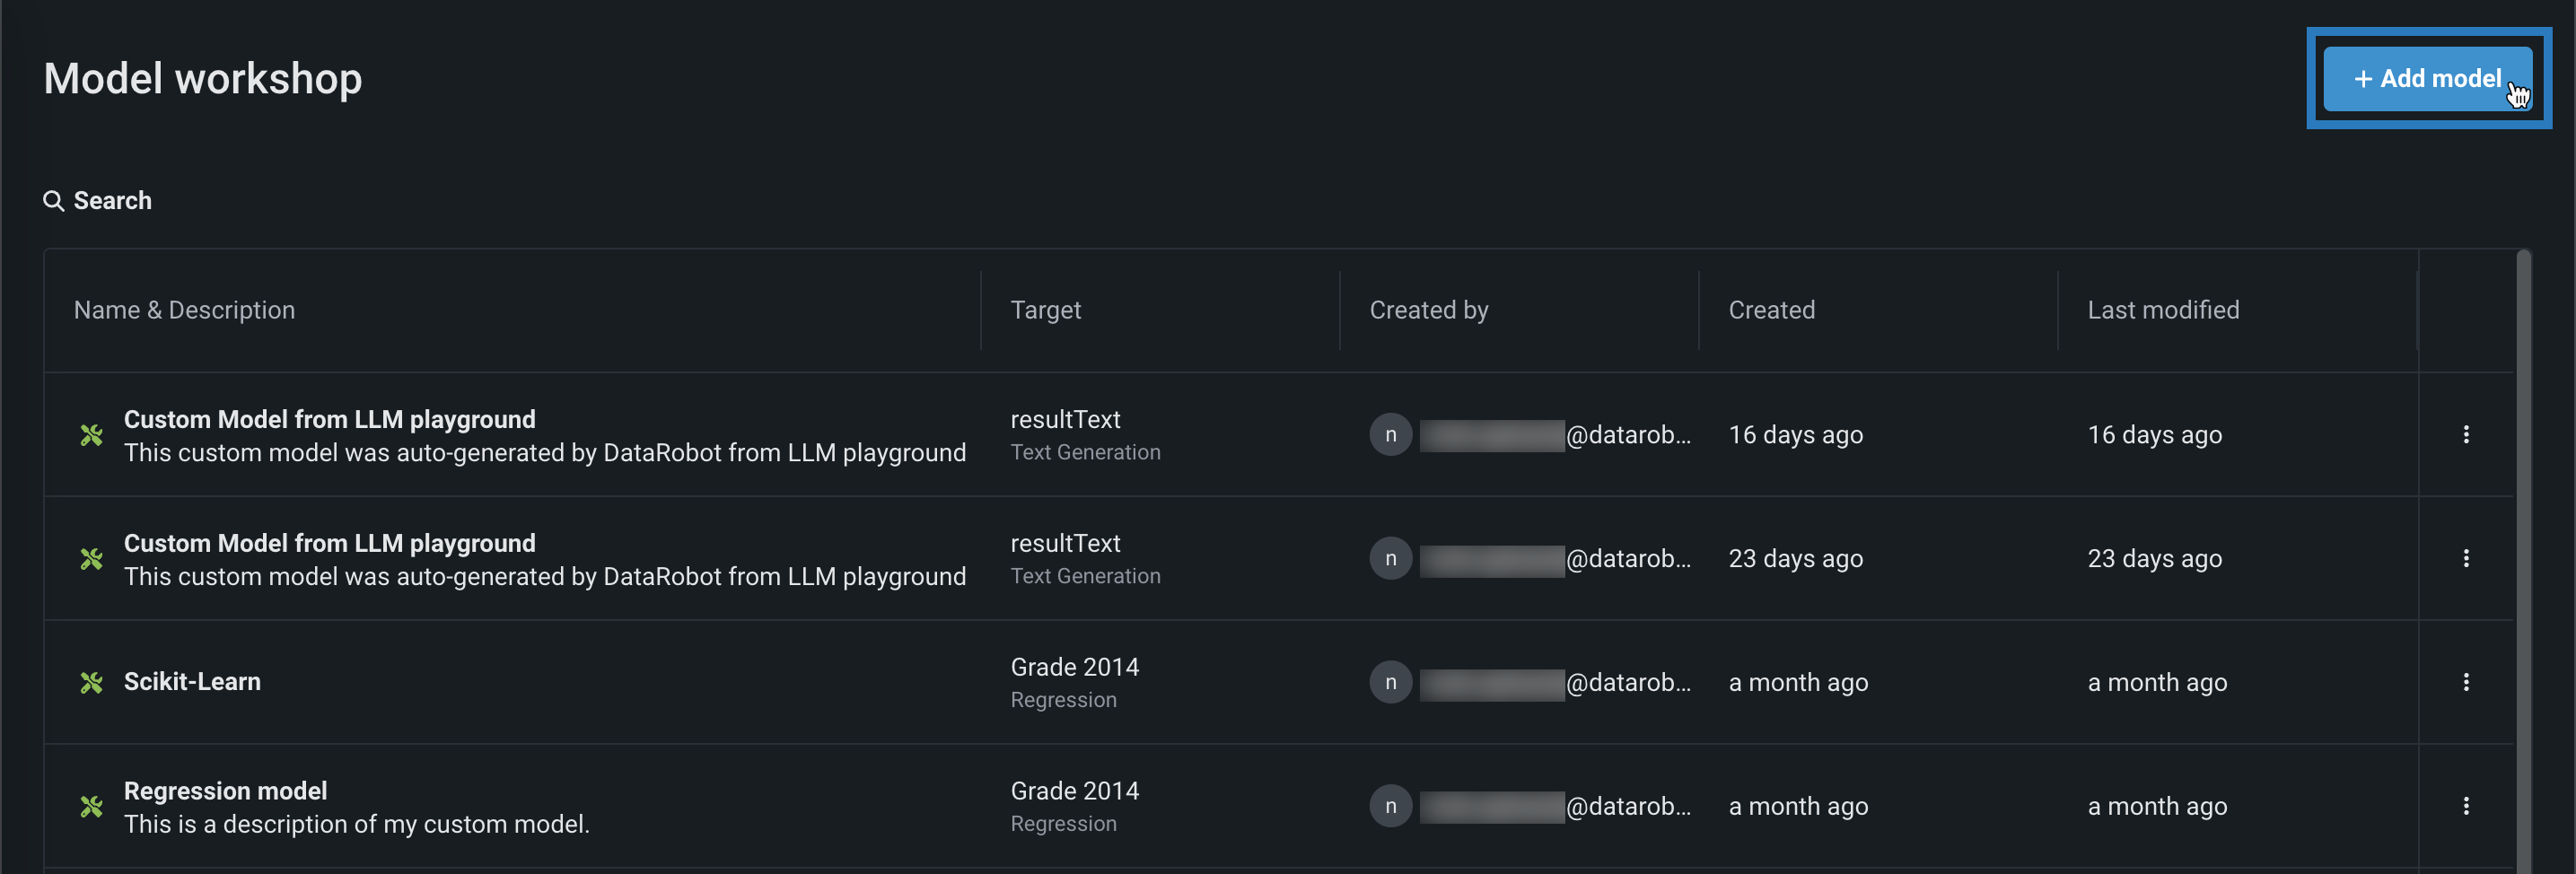
レジストリ > モデルワークショップをクリックします。 このタブには、作成したモデルが一覧表示されます。
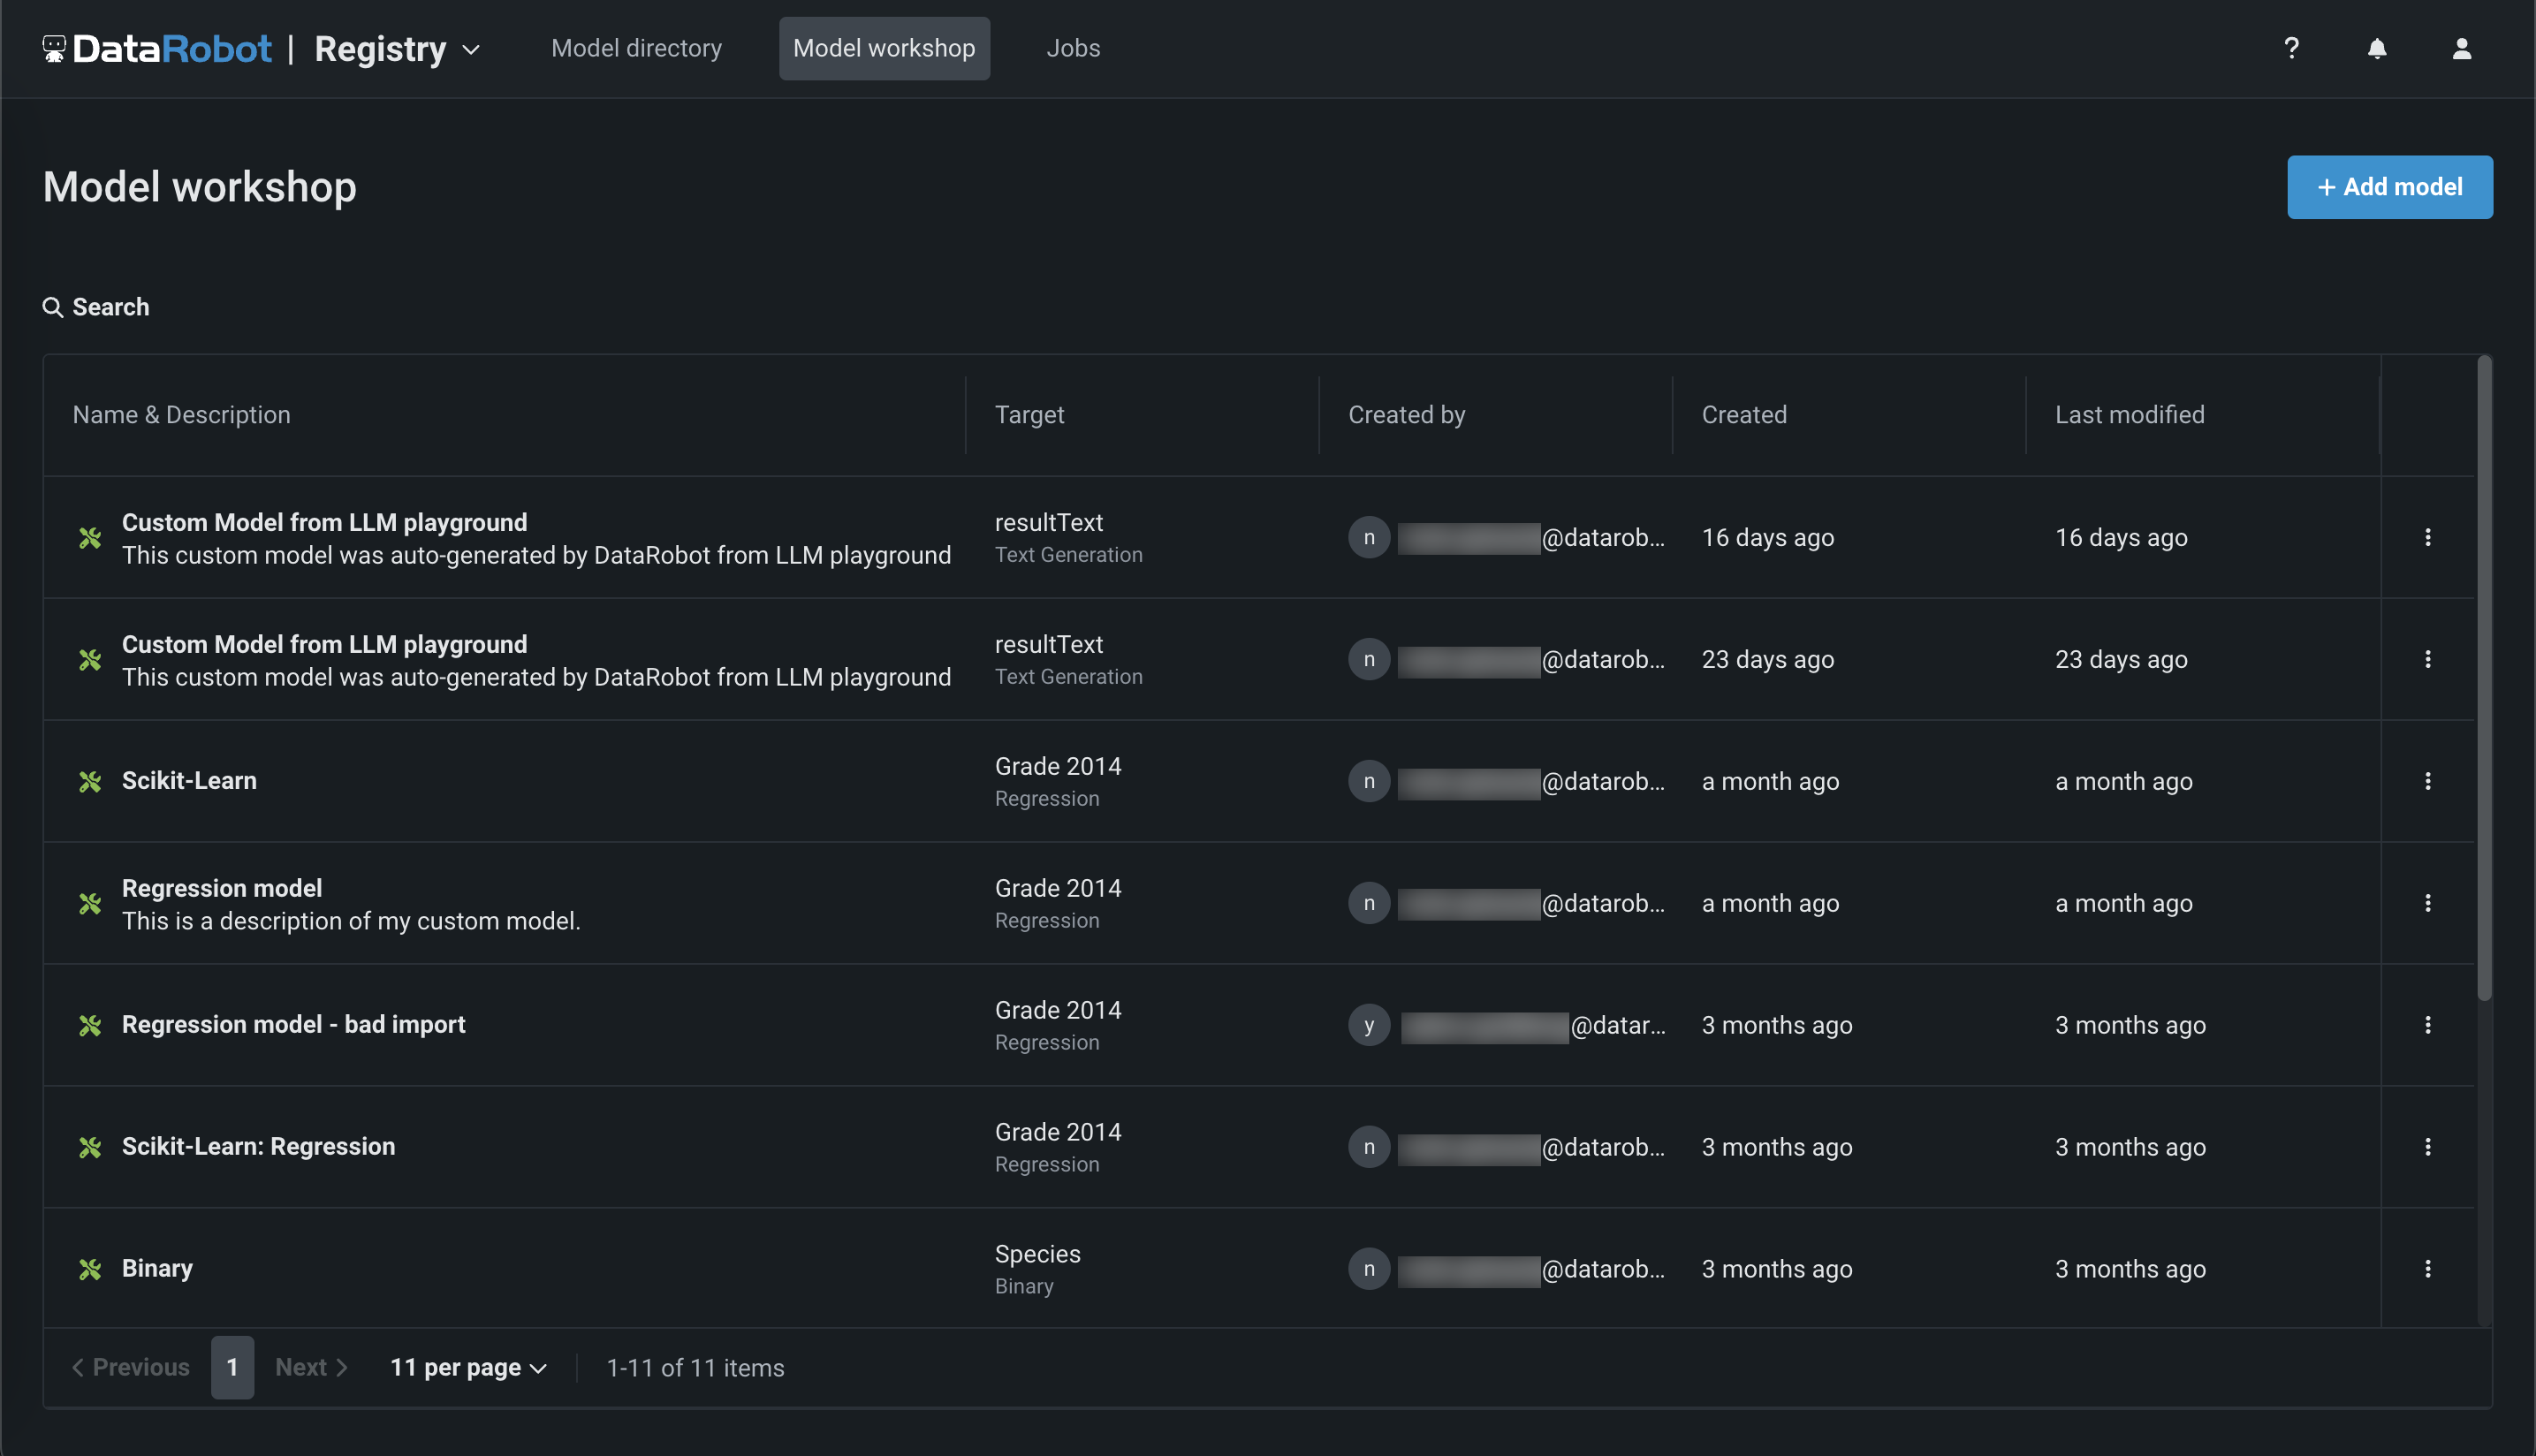
-
+ モデルを追加(または、カスタムモデルパネルが開いている場合は ボタン)をクリックします。
-
On the Add a model page, define the following fields under Configure the model:

フィールド 説明 モデル名 Enter a descriptive name for the custom model. ターゲットタイプ Select Text Generation. ターゲット名 Enter the name of the dataset column that contains the generative AI model's output, for example resultText.高度な設定 言語 Enter the programming language used to build the generative AI model. 説明 Enter a description of the model's contents and purpose. -
フィールドに入力したら、モデルを追加をクリックします。
カスタムモデルがアセンブルタブで開きます。
生成型カスタムモデルの構築とデプロイ
To assemble, test, and deploy a generative model from the Model workshop:
-
At the top of the Assemble tab, under Environment, select a GenAI model environment from the Base environment list. The model environment is used for testing the custom model and deploying the registered custom model.
-
依存関係セクションに入力するために、ファイルセクションで
requirements.txtファイルをアップロードし、DataRobotが最適なイメージを構築できるようにします。 -
ファイルセクションで、必要なカスタムモデルファイルを追加します。 If you aren't pairing the model with a drop-in environment, this includes the custom model environment requirements and a
start_server.shfile. ファイルの追加方法はいくつかあります。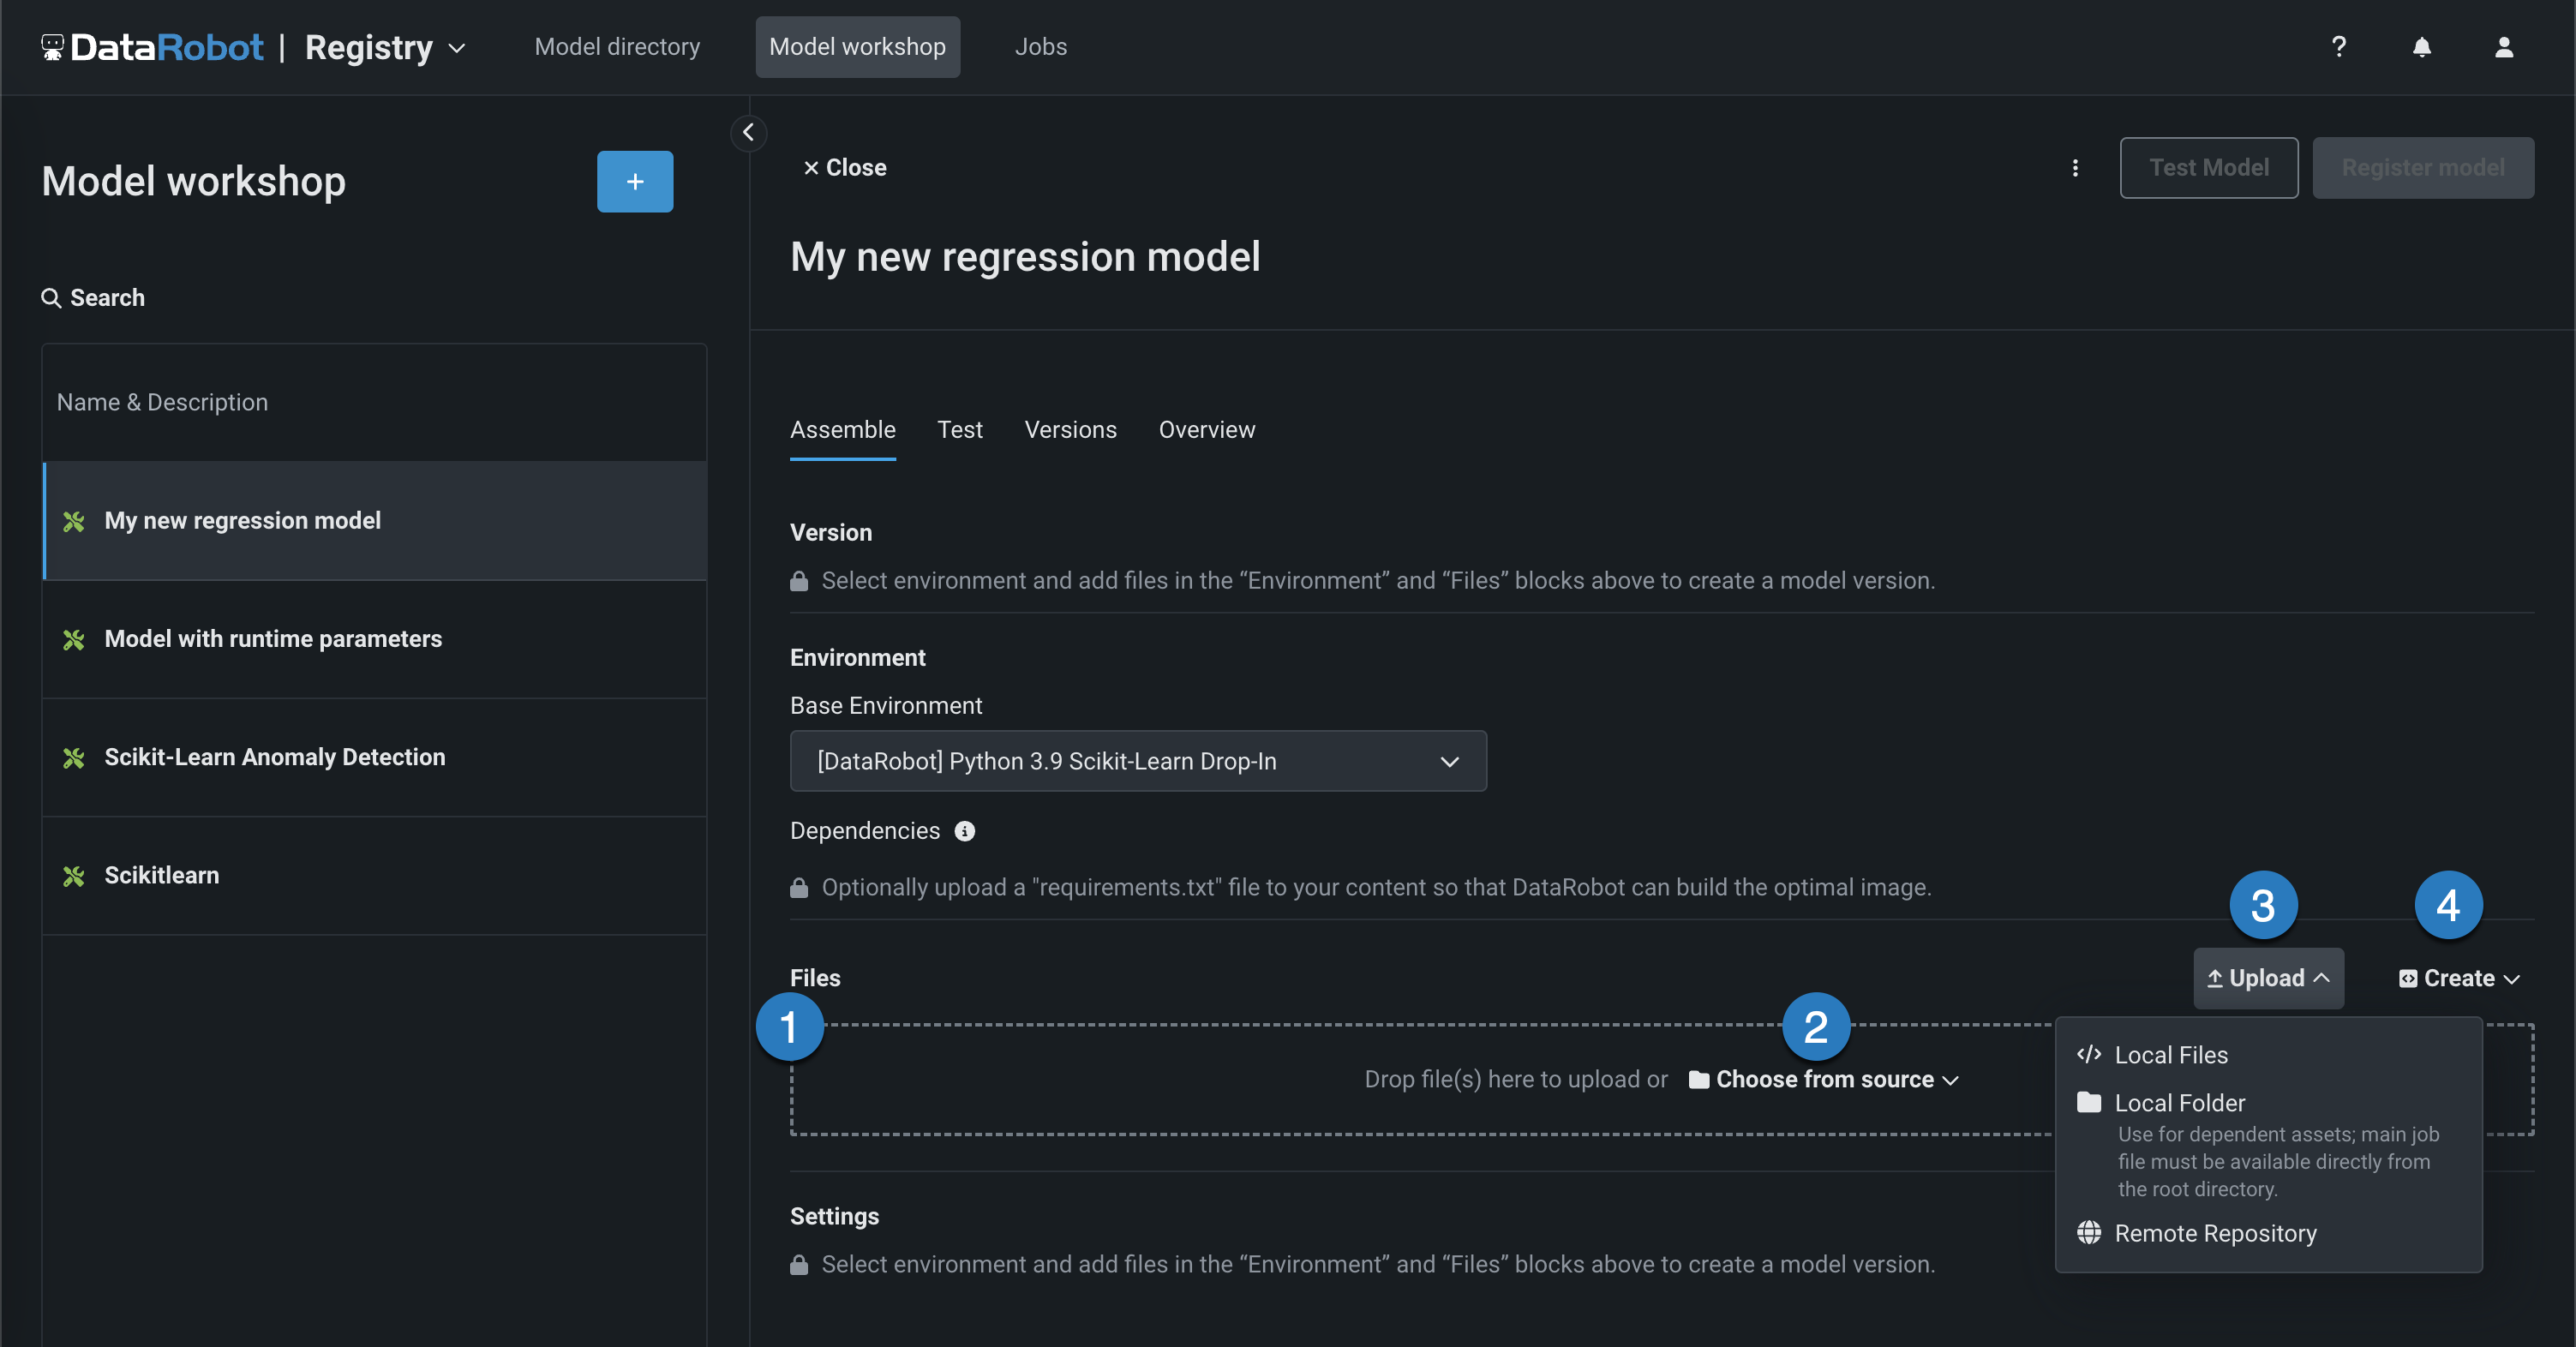
要素 説明 1 ファイル ファイルをグループボックスにドラッグしてアップロードします。 2 ソースから選択 クリックしてローカルファイルまたはローカルフォルダーを参照します。 3 アップロード Click to browse for Local Files or a Local Folder or to pull files from a remote repository. 4 作成 空のファイルまたはテンプレートとして新しいファイルを作成し、カスタムモデルに保存します。 - model-metadata.yamlを作成:ランタイムパラメーターファイルの基本的で編集可能な例を作成します。
- 空白ファイルを作成:空のファイルを作成します。 名称未設定の横にある編集アイコン()をクリックしてファイル名と拡張子を入力し、カスタムコンテンツを追加します。
A basic LLM assembled in the model workshop should, at minimum, include the following files:
ファイル 内容 custom.pyThe custom model code, calling the LLM service's API through public network access for custom models. model-metadata.yamlThe custom model metadata and runtime parameters required by the generative model. requirements.txt生成モデルに必要な ライブラリ(およびバージョン)。 -
After you add the required model files, add training data. To provide a training baseline for drift monitoring, upload a dataset containing at least 20 rows of prompts and responses relevant to the topic your generative model is intended to answer questions about. これらのプロンプトとレスポンスは、ドキュメントから取得することも、手動で作成することも、生成することもできます。
-
Next, click the Test tab, click Run new test, and then click Run to start the Startup and Prediction error tests—the only tests supported for the Text Generation target type.
-
Click Register model, provide the model information, and click Register model.
The registered model opens in the Models directory tab.
-
In the registered model version header, click Deploy, and then configure the deployment settings.
他のDataRobotモデルと同様に 予測を作成できるようになりました。
外部生成モデルの作成とデプロイ
外部モデルパッケージを使用すると、外部生成モデルを登録およびデプロイできます。 監視エージェントを使用して、これらのモデルタイプでMLOps監視機能にアクセスできます。
To create and deploy an external generative model monitored by the monitoring agent, add an external model as a registered model or version through the Registry:
-
レジストリのモデルディレクトリタブで、+ モデルの登録をクリックします(または、登録済みのモデルまたはバージョン情報パネルが開いている場合は ボタンをクリックします)。
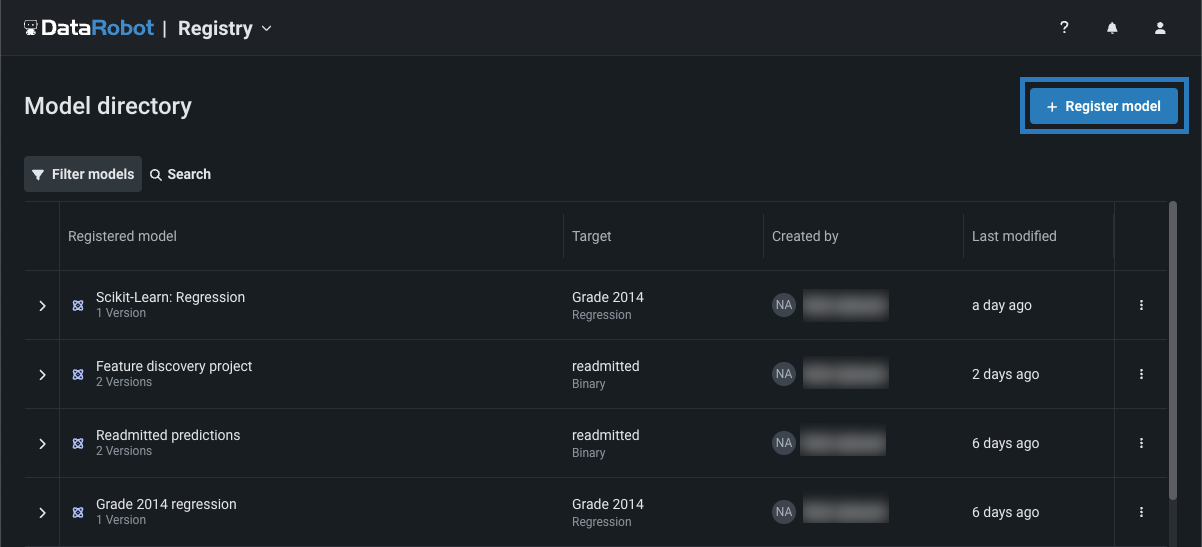
モデルを登録パネルが外部モデルタブを開きます。
-
On the External model tab, under Configure the model, select Add a version to an existing registered model or Create a new registered model.
-
From the Target type list, click Text generation and add the required information about the agent-monitored generative model.

-
In the Optional settings, provide a training baseline for drift monitoring. To do this, under Training data, click + Add data and upload a dataset containing at least 20 rows of prompts and responses relevant to the topic your generative model is intended to answer questions about. これらのプロンプトとレスポンスは、ドキュメントから取得することも、手動で作成することも、生成することもできます。
-
すべての必須フィールドを設定したら、モデルの登録をクリックします。
The model version opens on the Registry > Model directory page.
-
In the registered model version header, click Deploy, and then configure the deployment settings.
デプロイされた生成モデルの監視
To monitor a generative model in production, you can view service health and usage statistics, explore deployment data, create custom metrics, and identify data drift.


生成モデルのデータドリフト
生成モデルの予測データでドリフトを監視するために、DataRobotは新しいプロンプトとレスポンスを、モデル作成時にアップロードしたトレーニングデータのプロンプトおよびレスポンスと比較します。 比較に適切なトレーニングベースラインを提供するには、アップロードされたトレーニングデータセットに、モデルが質問に回答することを想定しているトピックに関連したプロンプトとレスポンスが20行 以上 含まれている必要があります。 これらのプロンプトとレスポンスは、ドキュメントから取得することも、手動で作成することも、生成することもできます。
On the Monitoring > Data drift tab for a generative model, you can view the Feature Drift vs. Feature Importance, Feature Details, and Drift Over Time charts. In addition, the Drill down tab is available for generative models. To learn how to adjust the Data drift dashboard to focus on a specific model, time period, or feature, see the Configure the Data Drift dashboard documentation.
Feature details for generative models
特徴量の詳細チャートには、テキスト生成モデルのための新機能が含まれており、トレーニング期間とスコアリング期間におけるデータセット内の各トークンのデータ分布の違いを視覚化するワードクラウドを提供します。 By default, the Feature Details chart includes information about the question (or prompt) and answer (or target, model completion, output, or response). These are Text features, and in the example below, the question feature is prompt and the answer feature is target:

| 特徴量 | 説明 |
|---|---|
| prompt | A word cloud visualizing the difference in data distribution for each user prompt or question token between the training and scoring periods and revealing how much each token contributes to data drift in the user prompt data. |
| ターゲット | A word cloud visualizing the difference in data distribution for each model output or answer token between the training and scoring periods and revealing how much each token contributes to data drift in the model output data. |
Features in the Feature Details chart
The feature names for the generative model's input and output depend on the feature names in your model's data; therefore, the prompt and target features in the example above will be replaced by the names of the input and output columns in your model's data. You can view these feature names in the Target and Prompt column name fields on the Overview tab for a generative model.
データドリフト追跡の他の特徴量を指定することもできます。たとえば、モデルの _温度_を追跡し、生成モデルのレスポンスの創造性レベルを高い(1)から低い(0)まで監視することができます。
To interpret the feature drift word cloud for a text feature like prompt or target, hover over a user prompt or model output token to view the following details:

| チャートの要素 | 説明 |
|---|---|
| トークン | ワードクラウド内のワードで表されるトークン化されたテキスト。 テキストサイズはトークンのドリフト貢献度を表し、テキストの色はデータセットの普及率を表します。 このチャートではストップワードは非表示になります。 |
| ドリフト貢献度 | この特定のトークンが、特徴量ドリフト対特徴量の有用性チャートで報告されている、特徴量のドリフト値にどれだけ貢献しているかを示します。 |
| ターゲット分布 | この特定のトークンがトレーニングデータまたは予測データに表示される頻度がどれだけ増加するか。
|
ヒント
ポインターがワードクラウド上にあるとき、上にスクロールするとズームインして、より小さいトークンのテキストを表示できます。