View and manage custom models
In the Model workshop, you can view basic custom model information and review the information you provided when you created the model. In addition, you can perform management actions such as model sharing and deletion.
The Model workshop table displays the Name & Description, Target, Created by identifier, Created date, and Last modified date for all of your custom models. Click Search and enter the custom model name to locate a specific model in the list of custom models:
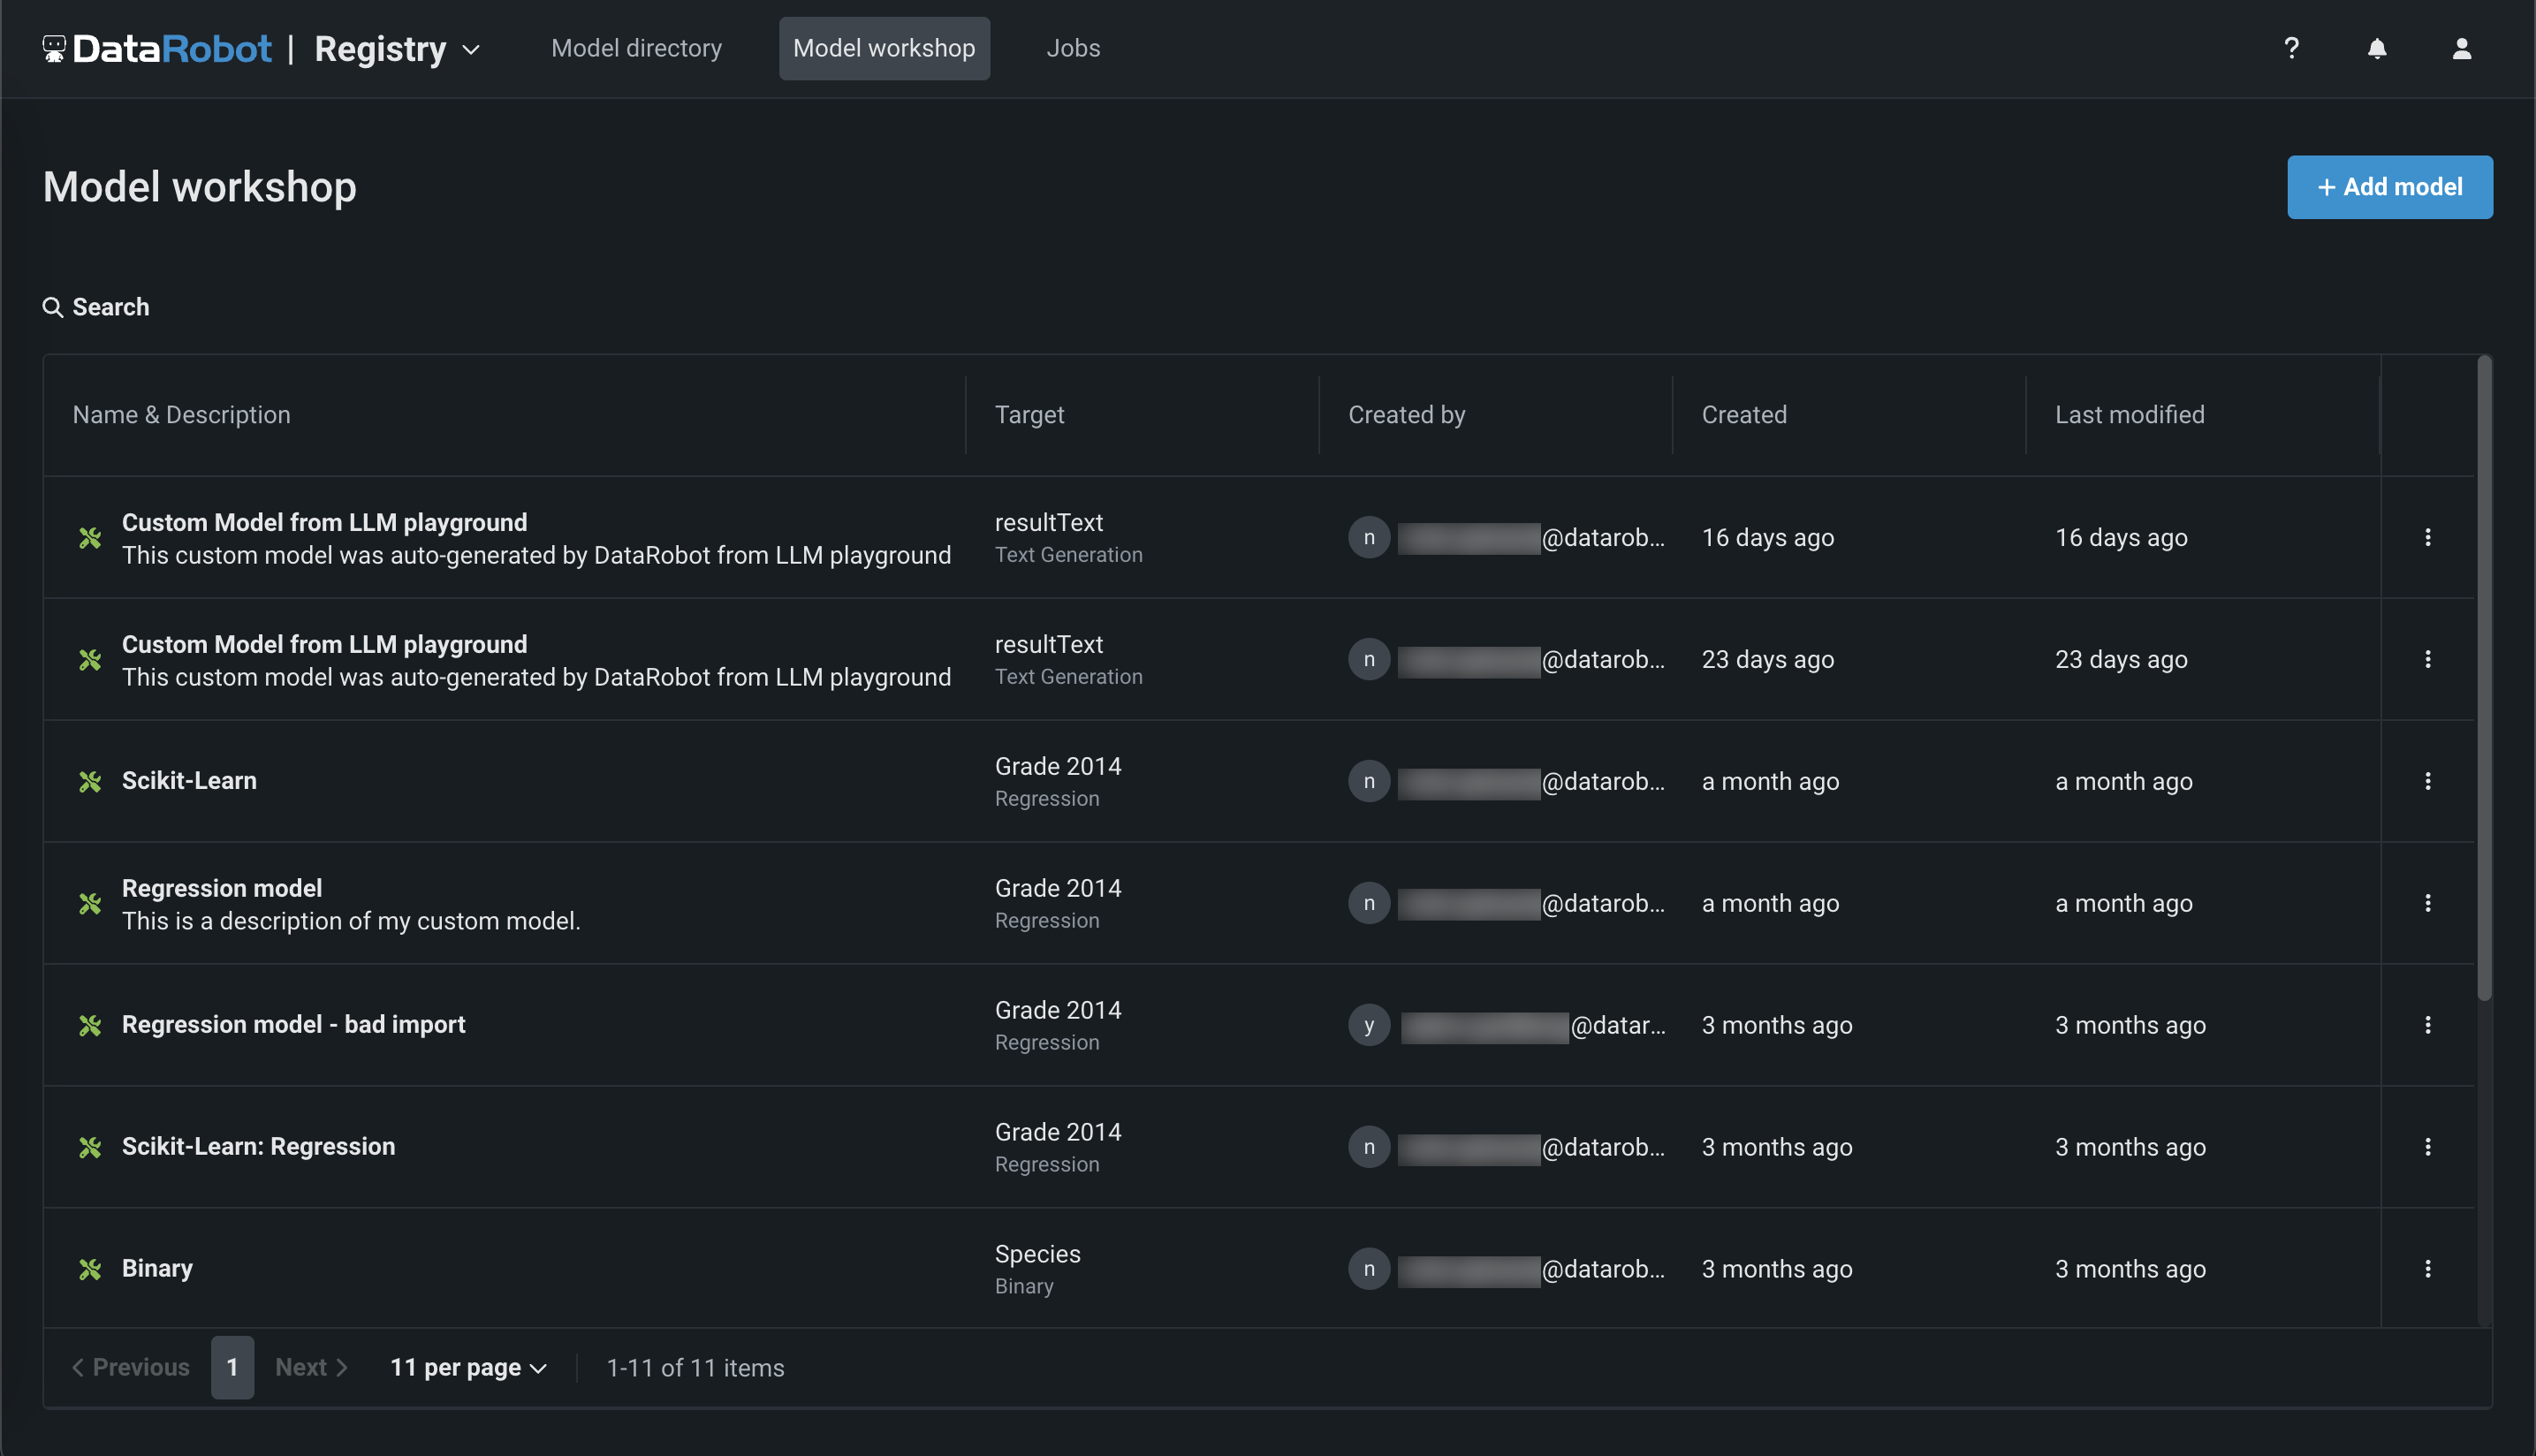
When you locate the custom model to review, click that custom model's row in the table to open it. When open, you can access the following tabs from the custom model panel:

| Tab | Description |
|---|---|
| Assemble | Provide the required model environment, files, and datasets, and define model dependencies and resource settings. |
| Test | Define and run a testing plan to ensure that the custom model is functional before it is registered and deployed. |
| Versions | Create custom model minor versions by editing model files and settings, or create a new major version. |
| Overview | Review the settings you configured when you first created the custom model and edit the target. |
Tip
You can click Close in the upper-left corner of the custom panel at any time to return to the expanded Model workshop table.
View the custom model overview
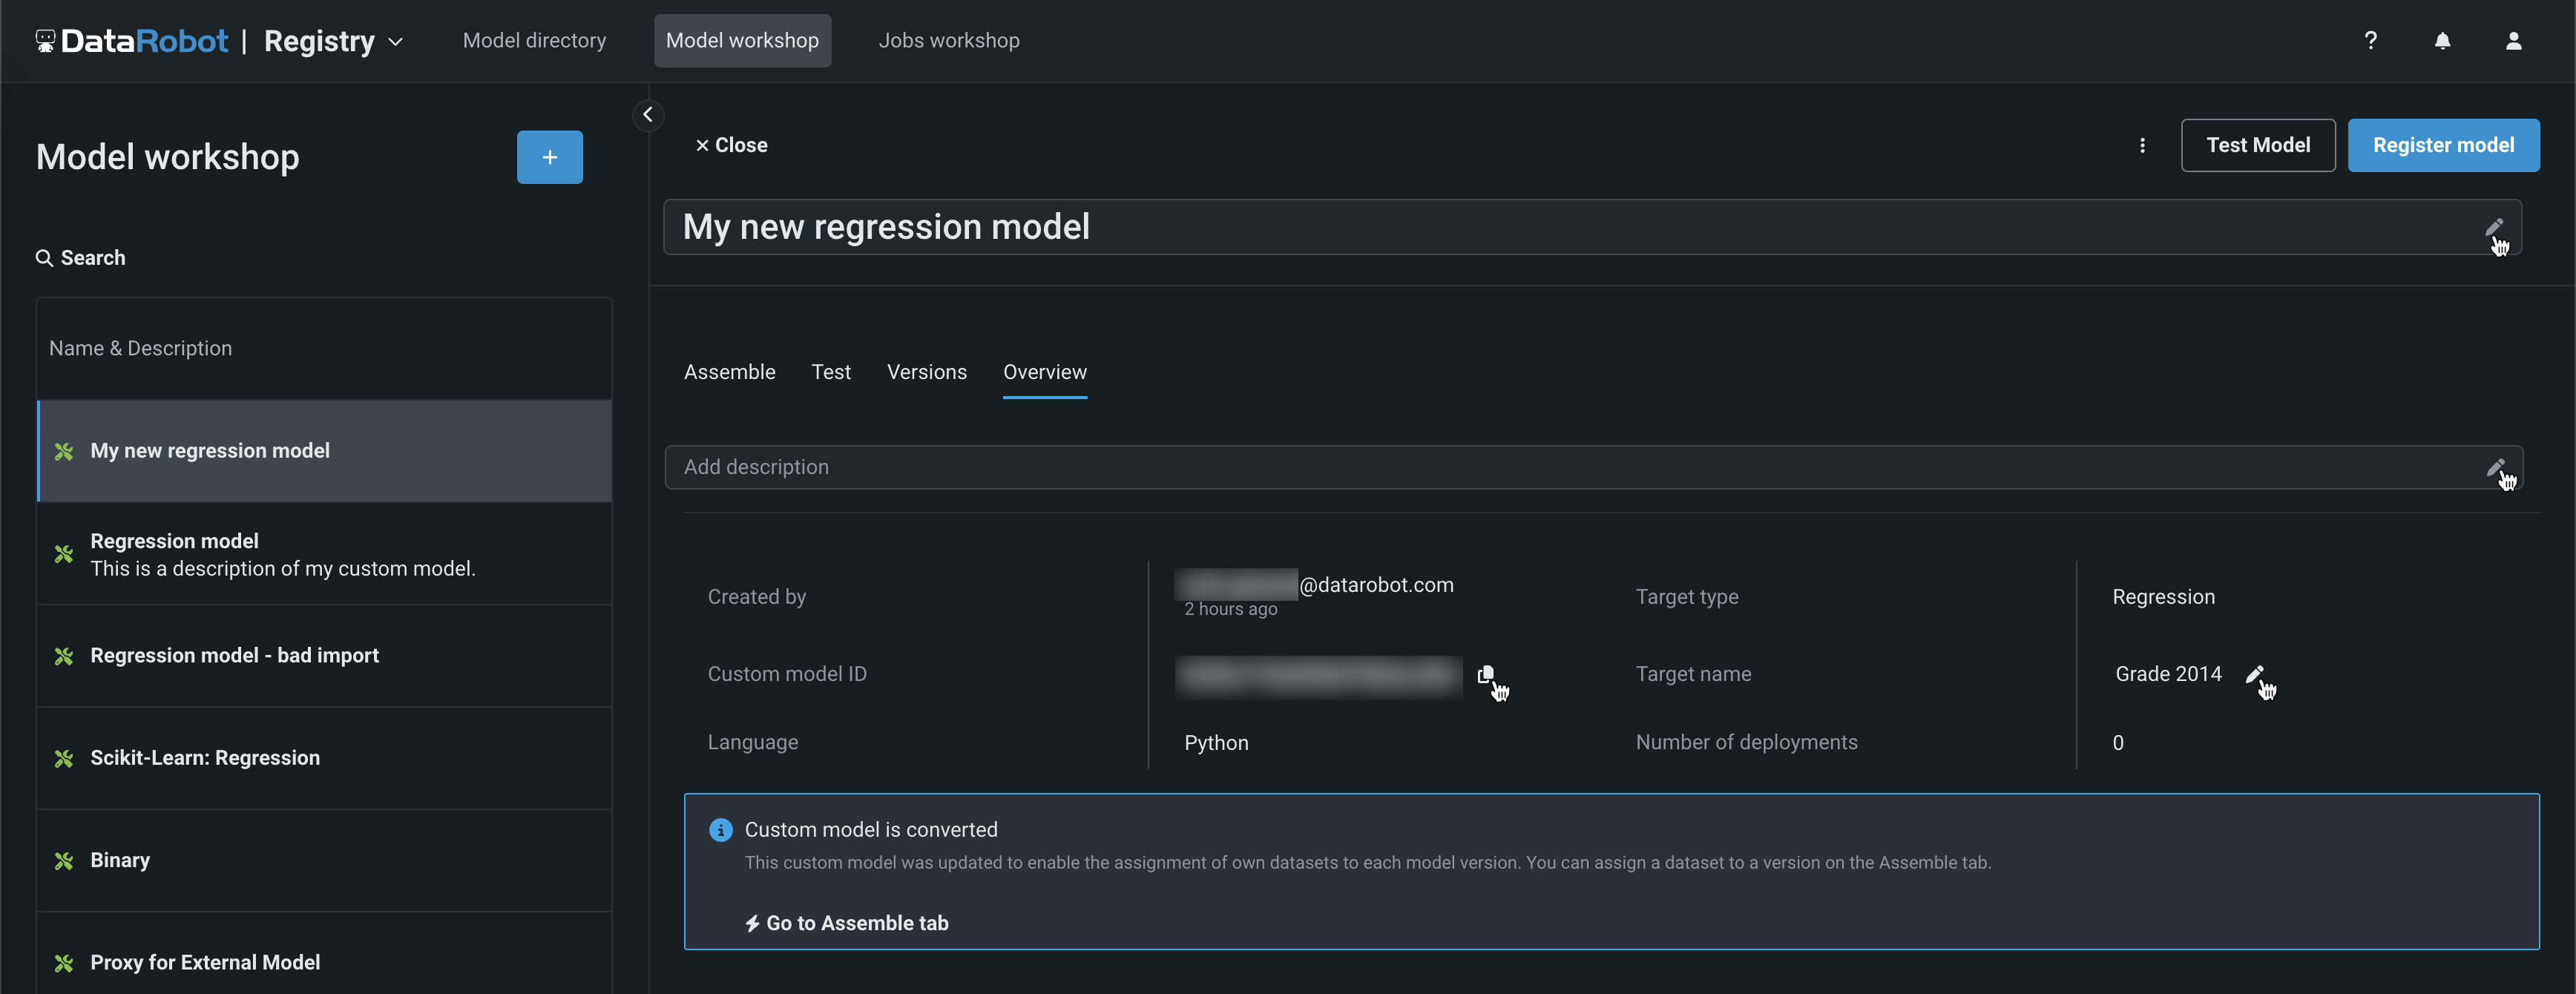
The custom model overview displays the settings configured when you created the custom model. In addition, you can edit the model name, model description, and target name. To view custom model details or change the target, open the custom model to view details for, and then click the Overview tab. From the Overview, click the copy icon () to copy the Custom model ID to your clipboard, or the edit icon () to edit the model name, model description, or Target name:
Tip
You can edit the model name from any tab in the custom model panel.
Share a custom model
The sharing capability allows appropriate user roles to grant permissions on a custom model. This is useful, for example, for allowing others to use your models without requiring them to have the expertise to create them.
Access levels and sharing
You can only share up to your own access level (a consumer cannot grant an editor role, for example) and you cannot downgrade the access of a collaborator with a higher access level than your own.
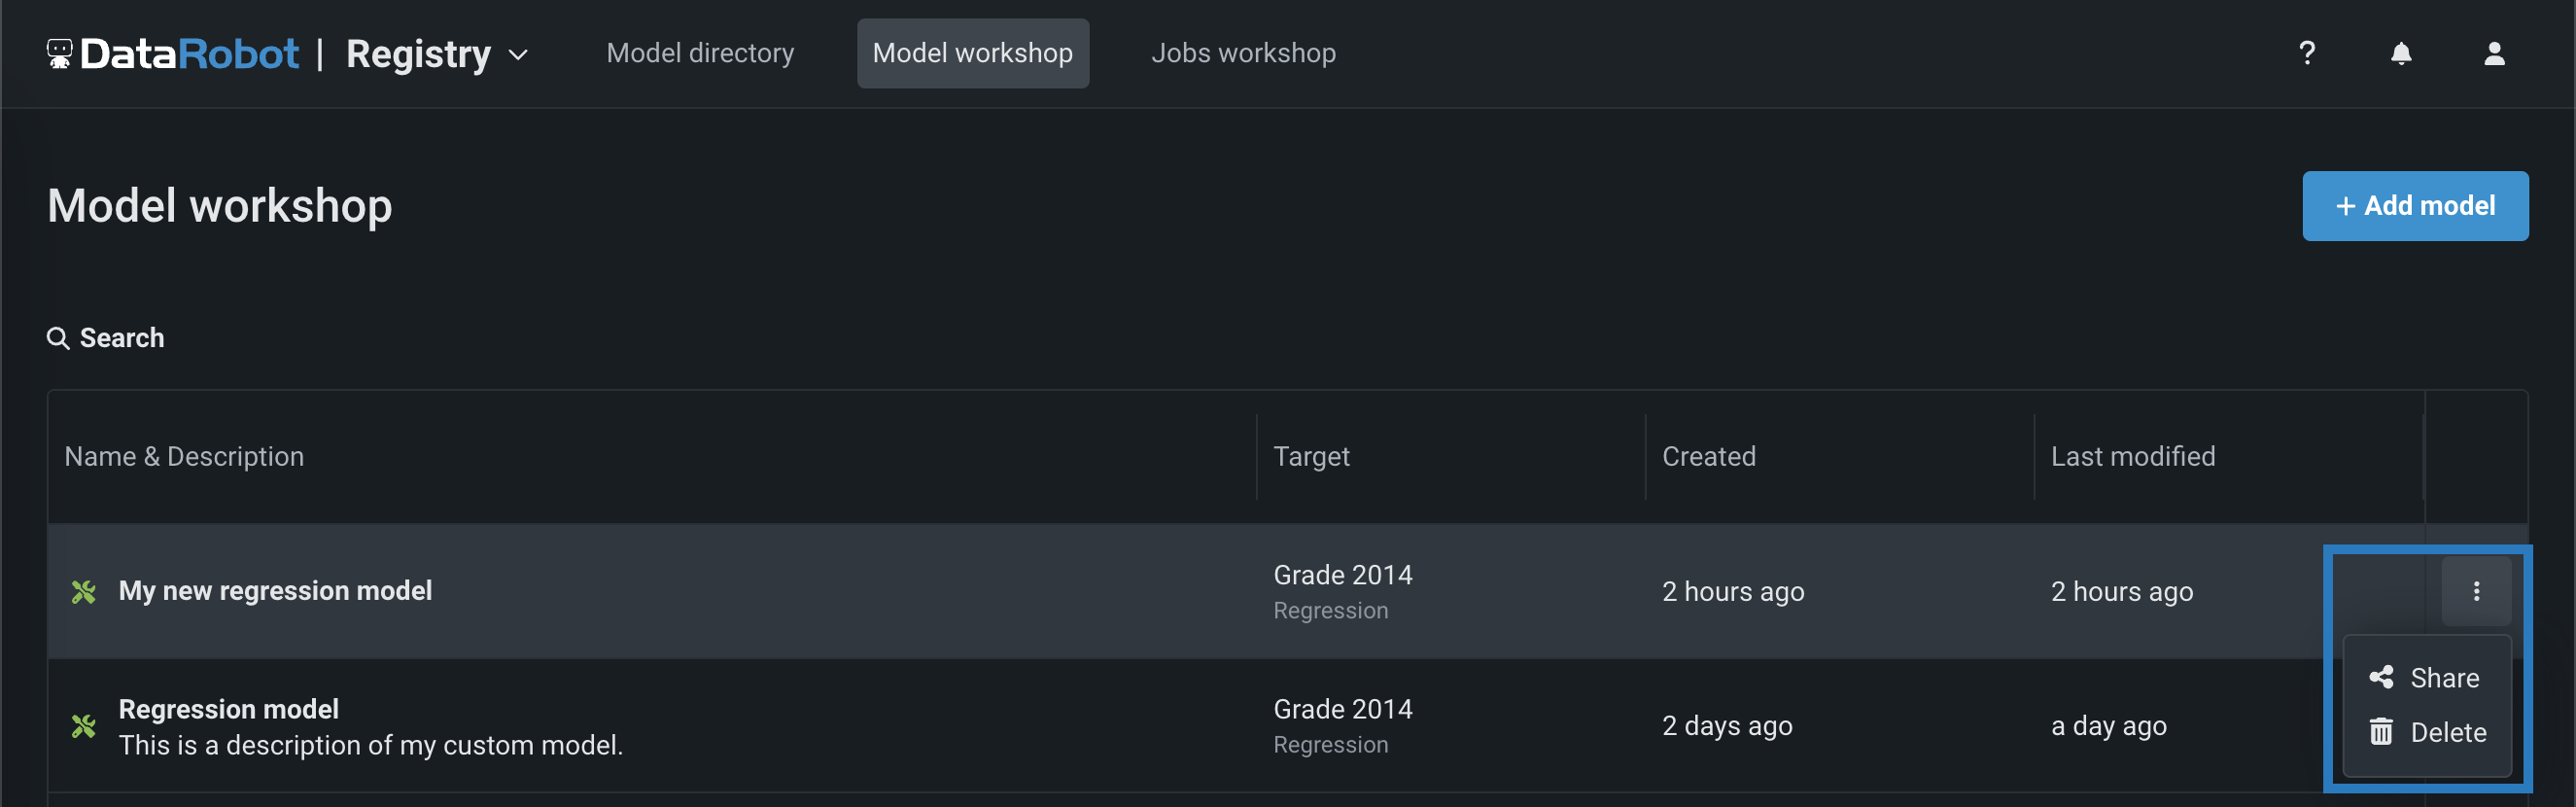
When the custom model panel is closed, in the actions menu () located in the last column for each custom model in the Model workshop, use the Share option to grant (or revoke) permissions to a custom model:
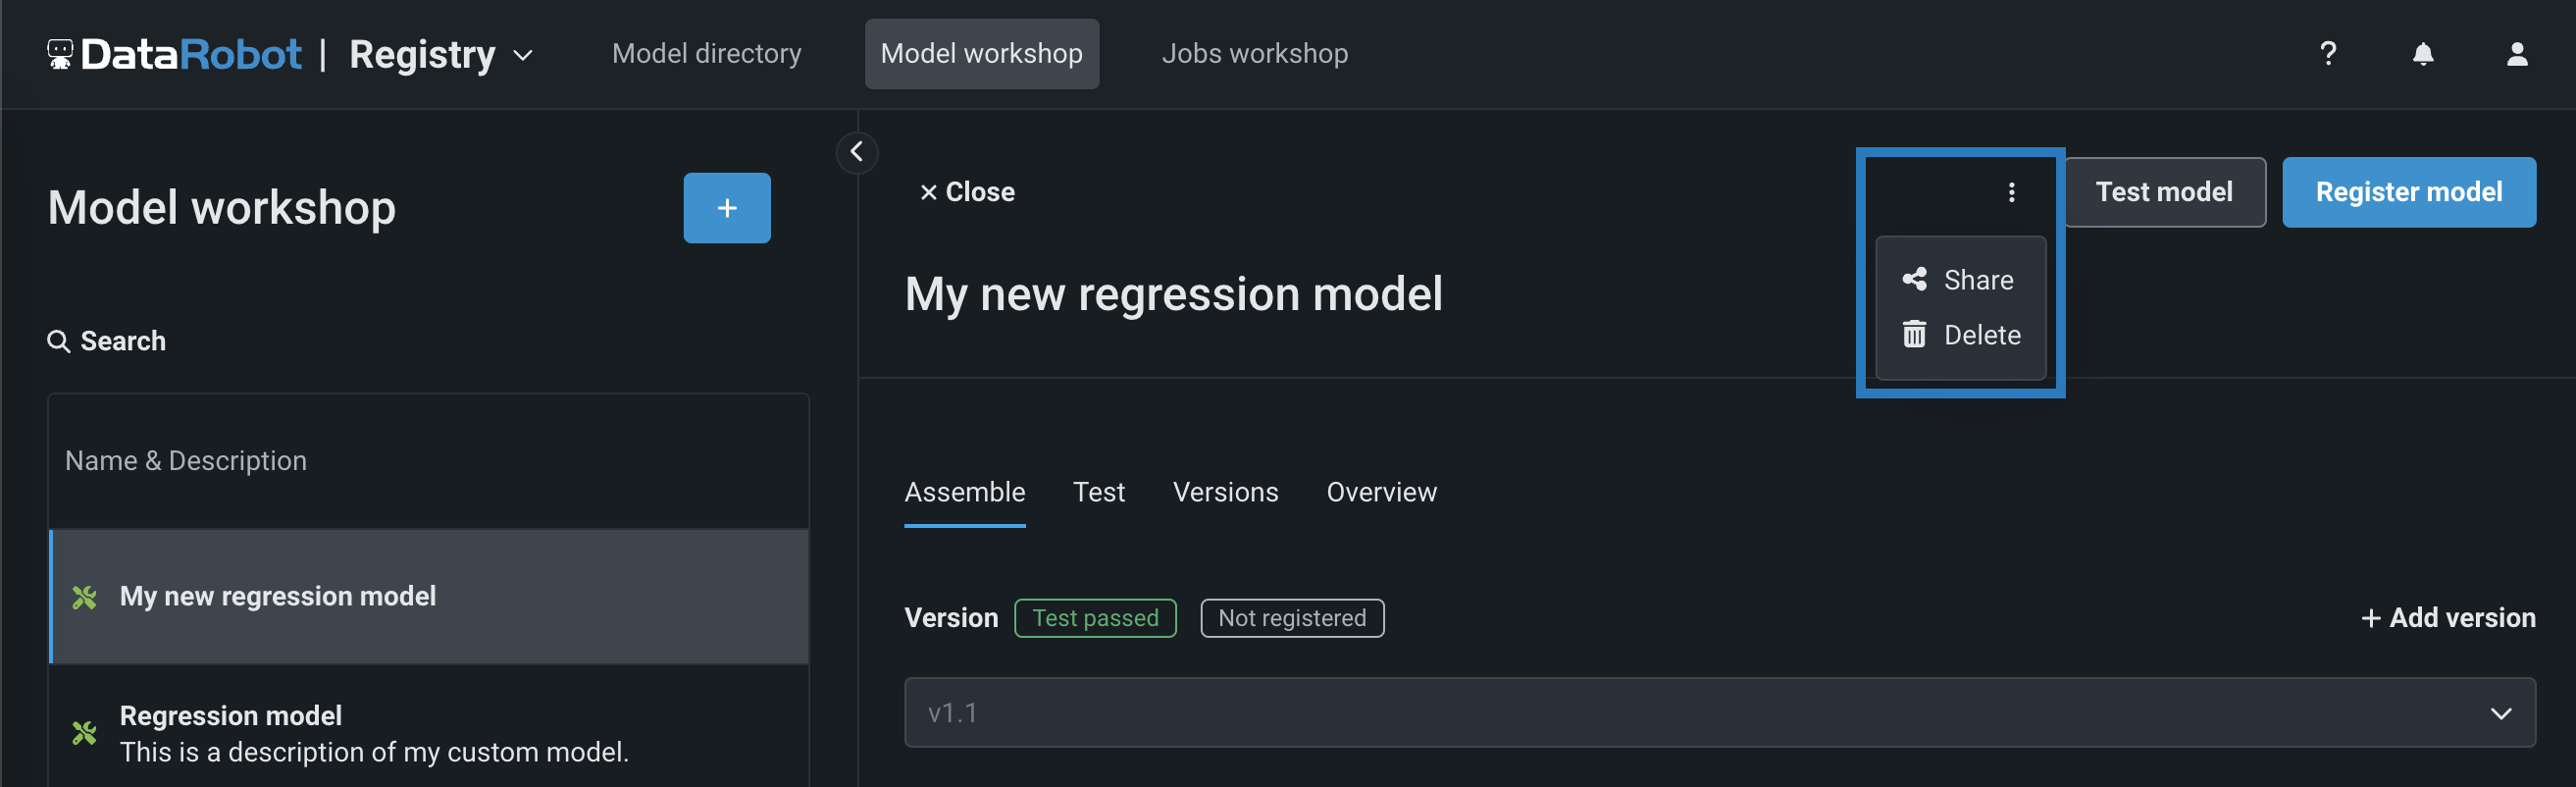
When the custom model panel is open, in the actions menu (), located in the upper-right corner of the page, use the Share option to grant (or revoke) permissions to a custom model:
In the Share dialog box, you can search for a user to Share with, select an access level for that user, and click Share:
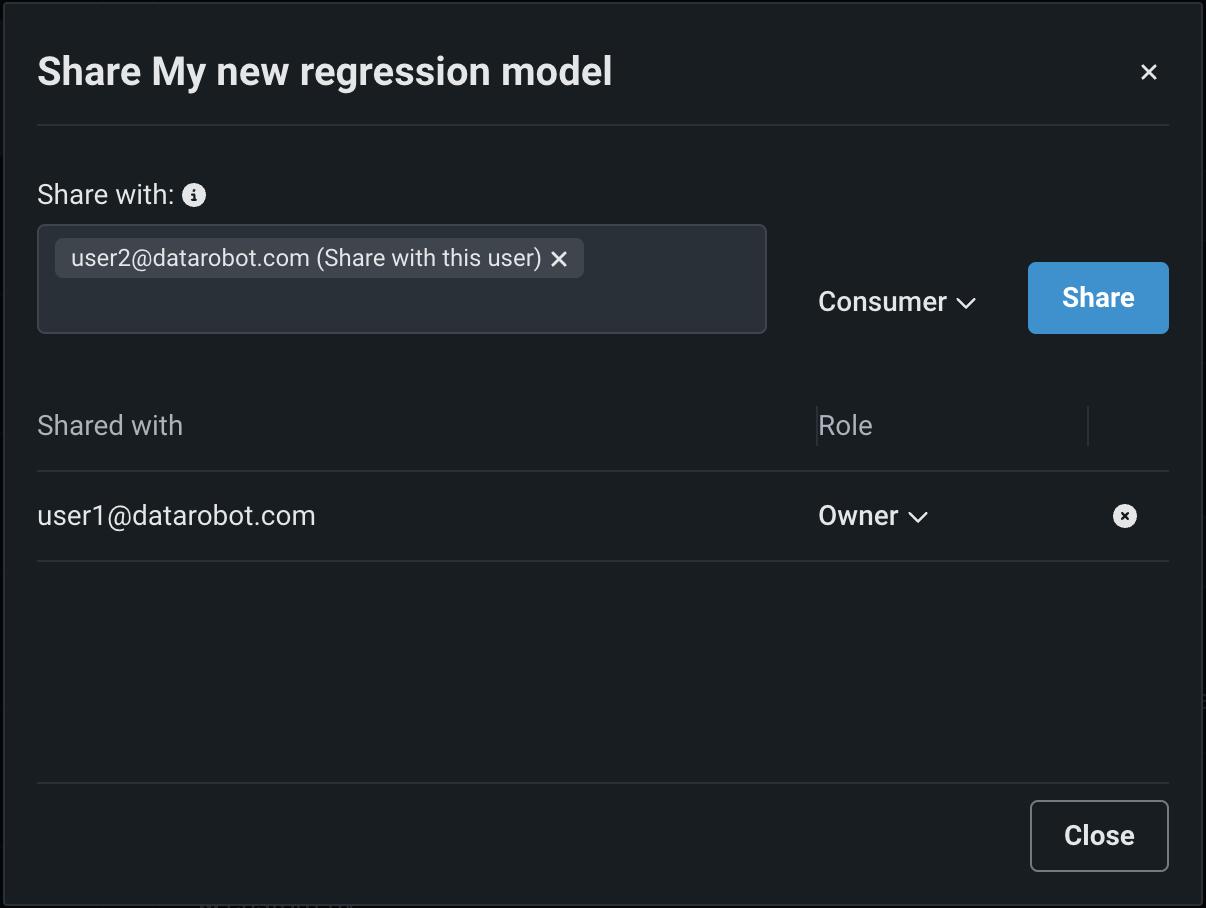
To manage existing sharing settings:
-
In the Role column for the user you want to manage permissions for, select a new access level.
-
At the end of the row for the user you want to revoke permissions for, click the revoke icon ().
Delete a custom model
If you have the appropriate permissions, you can delete a custom model from the Model workshop. To delete a custom model and all of its contents, in the Model workshop, locate the row for the custom model you want to delete, then:
-
If the custom model panel is closed, click the actions menu () located in the last column for each custom model and click the Delete option to delete the model. Then, in the Delete Custom Model dialog box, click Delete again:
-
If the custom model panel is open, click the actions menu () located in the upper-right corner of the page and click the Delete option delete the model. Then, in the Delete Custom Model dialog box, click Delete again: