Notebook scheduling
With the DataRobot Notebooks scheduling capability, you can automate your code-based workflows by scheduling notebooks to run on a schedule in non-interactive mode.
See the associated considerations for important additional information.
Create a notebook job
Notebook scheduling is managed by notebook jobs. You can only create a new notebook job when your notebook is offline. If your notebook is currently open in an active session, you will need to first shut down this interactive session before you can create a new job.
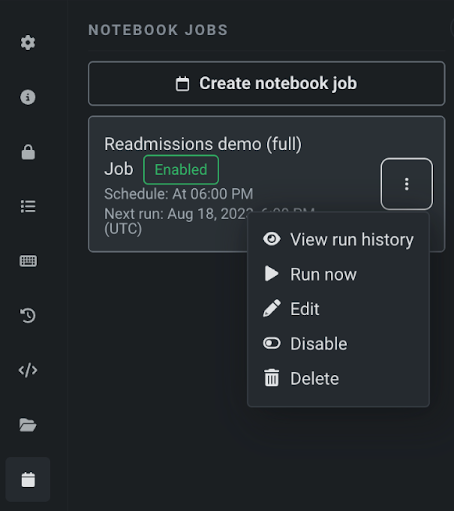
To create a notebook job, select the notebook for which you want scheduling. Then, select the calendar icon in the sidebar to access the Notebook jobs tab.
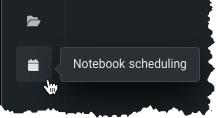
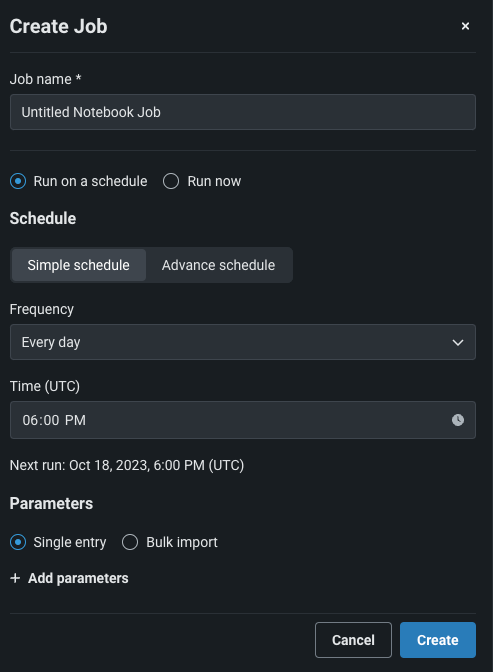
From the Notebook jobs tab, select Create notebook job. Then, configure the schedule from the notebook job modal.
| Field name | Description |
|---|---|
| Job name | Enter the name of the notebook job that you are creating. |
| Run on a schedule or Run now | Determine if you want to run the notebook immediately or if you want to run it on a schedule. Running a notebook immediately is useful if you want to perform a test run of the notebook before automating the notebook on a schedule, or if you want to run the notebook asynchronously and track the run history. |
| Schedule type | Choose between a simple schedule or a cron schedule. A simple schedule only requires a frequency and a time to run the notebook. A cron schedule allows you to configure the exact time and date for the notebook to run, specifying the minute, hour, date, month, and day of the week. |
| Frequency | Set the rate at which you want to notebook to run (hourly, daily, monthly, etc.). |
| Time | Specify the time at which the notebook will run on the schedule. Select Cron schedule for more precise scheduling options. |
| Parameters | (Optional) Read more about parameterization below. Define parameters in the notebook to automatically provide their values at the time of the scheduled run instead of having to go into the notebook and manually change each value. Choose to add parameters as single entries or import them in bulk. |
When you have fully configured the notebook job, click Create. The newly created notebook job can be viewed from the Notebook jobs tab. When a notebook job runs, the results (cell outputs) are displayed in the notebook.
Notebook parameterization
You can parameterize a notebook to enhance the automation experience enabled by notebook scheduling. By defining certain values in a notebook as parameters, you can provide inputs for those parameters when a notebook job runs instead of having to continuously modify the notebook itself to change the values for each run.
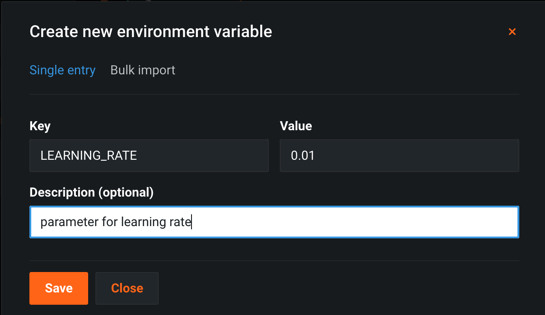
To parameterize certain values in a notebook, you must define the parameters as notebook environment variables. The value of the environment variable will serve as the default value of the parameter.
Once defined, you can use this parameter in code by retrieving the corresponding environment variable, as shown below.
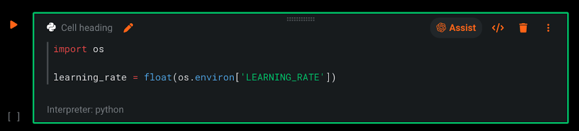
When a notebook job is executed, each parameter value defined in its job definition will override the default value defined by the parameter's corresponding environment variable for that run. Note that these runtime parameter values do not replace the corresponding notebook environment variables' stored values.
When adding parameters, you can add each one-by-one by adding key-value pairs, or define them in bulk. For bulk import, specify a new-line delimited key value pairs in the text field. Use the following format on each line in the field:
KEY=VALUE # DESCRIPTION
Manage notebook job definitions
Scheduled job definitions for a notebook are displayed in the Notebook jobs tab. Click on the menu icon to access the list of actions you can perform on the job definition, such as viewing the run history or editing the job.
Note
Disabling a job definition pauses the schedule. No new automated runs of the scheduled job will be submitted until the schedule is re-enabled.
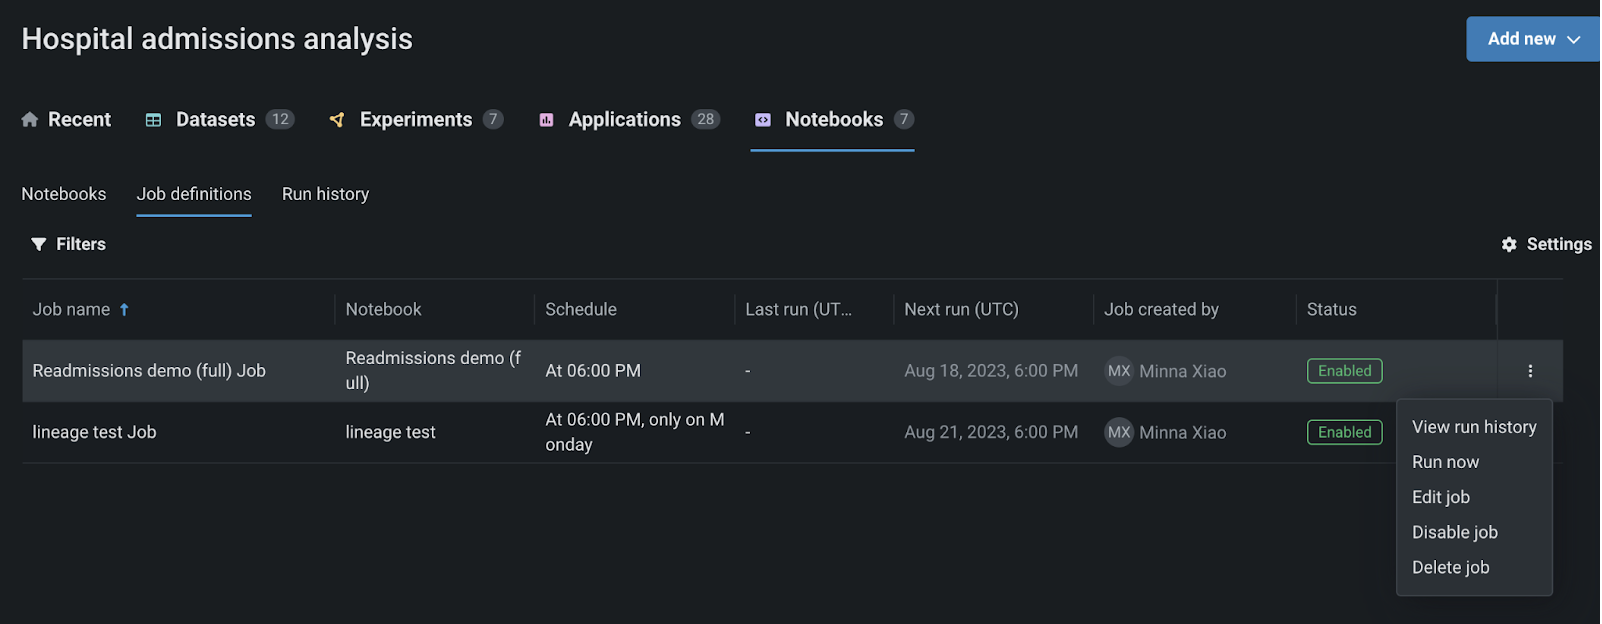
You can also view all scheduled job definitions across all the notebooks in a Use Case by navigating to the Job definitions section of the Notebooks tab in the Use Case home page.
Monitor run history
DataRobot tracks the history and metadata of each automated run of a scheduled notebook and each manual run of a notebook triggered by the Run now action. To view the run history, navigate to the Run history section of the Notebooks tab on the Use Case home page. The Run history section displays metadata for each run including the run’s start time (UTC), end time (UTC), duration, and status.
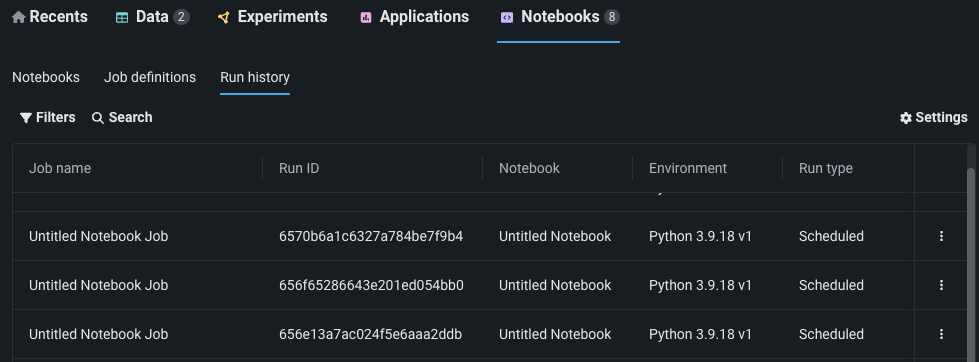
Click on the menu icon to download run results or cancel a run. Select Settings to filter by the columns you wish to view and reorder them.
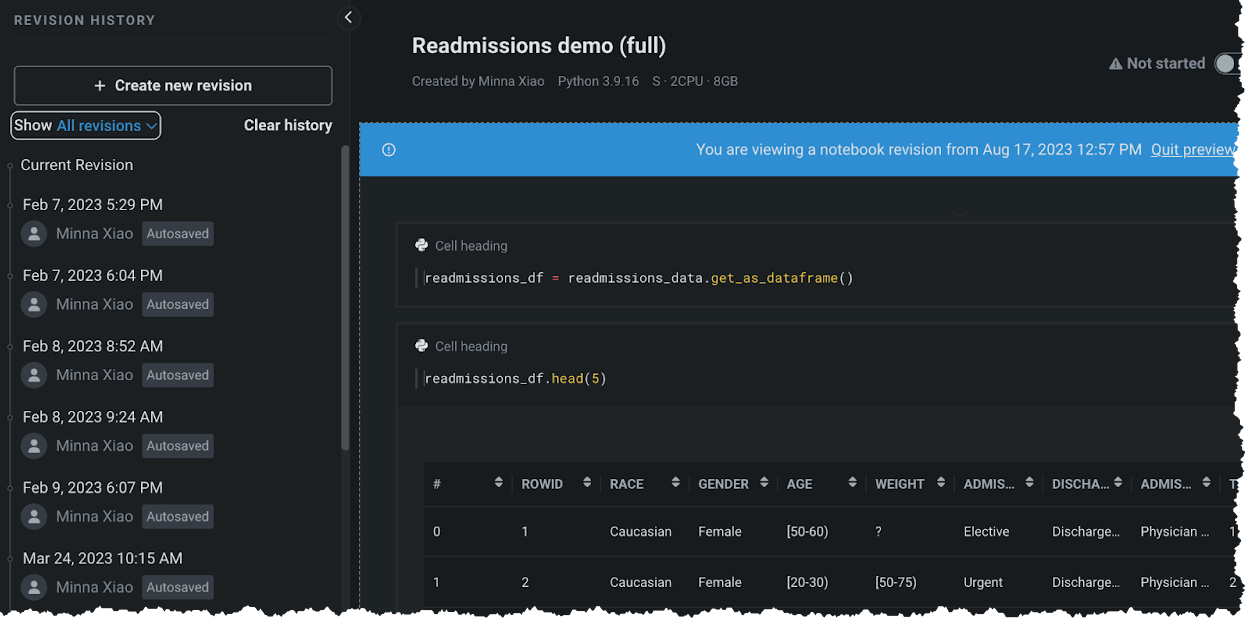
Each notebook run has a corresponding notebook revision, which is a snapshot of the notebook (and cell outputs) that DataRobot automatically collects at the end of each notebook job run. This allows you to go back and view the run results of previous notebook runs, even if the current version of the notebook has changed. The notebook revision is displayed in the Run results column in the Run history table. Click on a run in the table to open the notebook revision for that corresponding run.
Notebook scheduling considerations
Review the following considerations before working with notebook scheduling:
-
A notebook can only have one scheduled job definition at a time. To create a new scheduled job definition, you must delete your existing job definition first.
-
You cannot start a notebook in an interactive session if the notebook has an active and enabled scheduled job definition. In order to edit or execute your notebook in an interactive session, you will need to disable the active schedule first.
-
The smallest frequency you can specify for a schedule is hourly.
-
The max number of notebook jobs that can be executed in parallel at the organization level is two. This is a separate limit from the max number of interactive notebook sessions you can have running in parallel